 Aerated Concrete Block Industry
 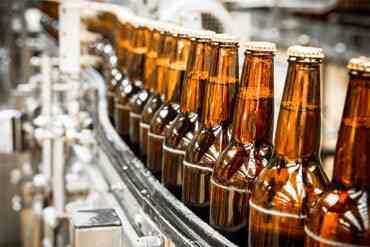 Brewery Industry
  Captive Cogen Industry
 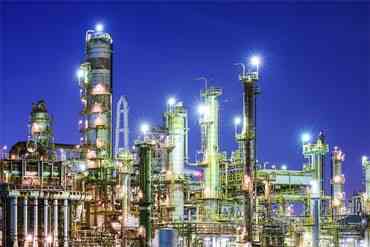 Chemical Industry
  Dairy Industry
 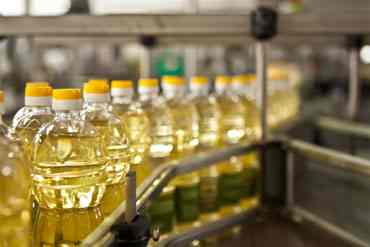 Edible Oil Industry
  Fertilizer Industry
  Hotel Industry
 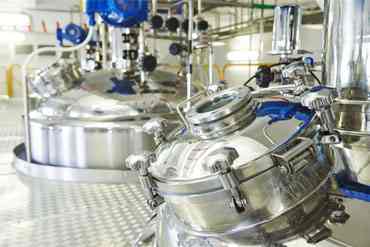 Pharma Industry
 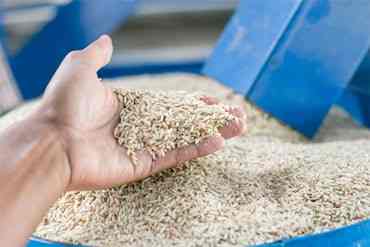 Rice Industry
  Rubber Industry
  Soap Industry
 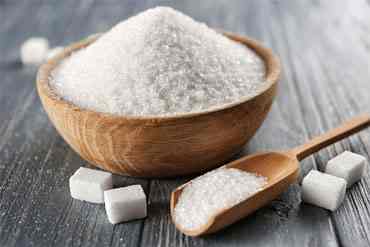 Sugar Industry
  Textile Industry
 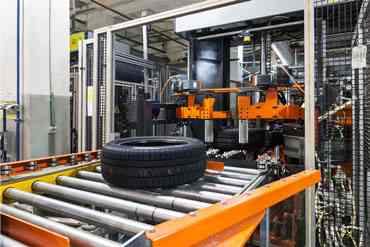 Tyre Industry
 Pressure Reducing Valves - Installation Guidelines
Installation Guidelines
- An UKL “Y” strainer (40 mesh, depending on liquid quality) is mandatory to install before the PRV to reduce the chance of dirt fouling.
- Piping a bypass line with a Piston valve around the PRV will allow system operation while the PRV is being serviced. Install only if fluid cannot be shut-off to service PRV.
- Install Pressure gauges before and after the PRV.
- Install the PRV with the flow as direction arrow shows on the body
- Do not install quick on-off valves at downstream of PRV.
Adjustment Steps & Start Up.
Improper adjustment of the pressure reducing valve may cause stalking, inadequate control, and possible damage to the valve itself. Hence adjust the valve as follows:
- Close the Piston valves before and after the PRV. Open the bypass valve slowly up to certain pressure and blow the system down. Not to open the bypass completely to avoid the safety relief valve (if installed) from popping off. After blowing down the system, close the bypass valve.
- To relieve the adjusting spring, loosen the lock nut on the adjusting screw to allow adjustment.
- Slowly open the inlet side Piston valve to the fully open position, and partially open the outlet valve so only a small amount of fluid can pass.
- To get the desired pressure on the downstream side. Slowly turn the adjusting screw clockwise until to reach the required pressure. Check the pressure on pressure gauge.
- Slowly open the outlet Piston valve to the fully open position.
- Turning the adjusting screw; Clockwise increases pressure and Counterclockwise decreases pressure. Adjust pressure again after system stabilizes.
- After adjustment is completed, tighten the adjusting screw lock nut.
Disassembly Process
- Loosen the lock nut to remove the spring chamber, turn the adjusting screw counter-clockwise until it can be turned easily by your fingers, and then remove the cover bolts.
- Detach the diaphragm from the body flange surface to remove the diaphragm and then loosen the hexagon nut on top of the disk thrust plate for disassembly.
- Remove body cap on the bottom of the valve.
- Once off, take out the O-ring and valve spring.
- Turn the valve counter-clockwise using the slots in the bottom of the valve to unscrew it from the hanger to remove the valve.
Reassembly Process
Reassemble in the reverse order of disassembly